Let’s be real—if you’ve ever tossed a bag of frozen chicken tenders on a sheet pan at 6:17 PM while your toddler melts down over sock seams…you’re in good company. But bestie, you deserve better than “meh” meals in survival mode.
These crispy chicken strips? Different. They’re fast-food vibes with a homemade heart. Think golden, crunchy coating that ACTUALLY stays crispy—no fryer needed, no soggy sadness. They’re juicy, flavorful, and 100% picky-eater approved (Lo, your kids will devour them and ask for seconds 🙌).
What makes them so good? We marinate for flavor that hits different, we coat them like a pro (flour ➡️ egg ➡️ breadcrumbs, baby), and we bake or air fry until they’re next-level crispy. Zero deep-frying mess. Zero guilt. Maximum “omg you MADE these?!”
Whether you’re trying to get dinner on the table between school pickups and bedtime stories, or just want a no-fail dinner that hits every time—this is your new go-to.
By the end of this blog, you’ll be serving up chicken strip realness that gives Chick-fil-A a run for their money. Let’s make your inner Ina proud (even if your kitchen’s a crime scene by 7 PM)
What You’ll Need
Before we get our hands messy (in the best way), here’s everything you need to make these chicken strips the main character of your weeknight dinner rotation:
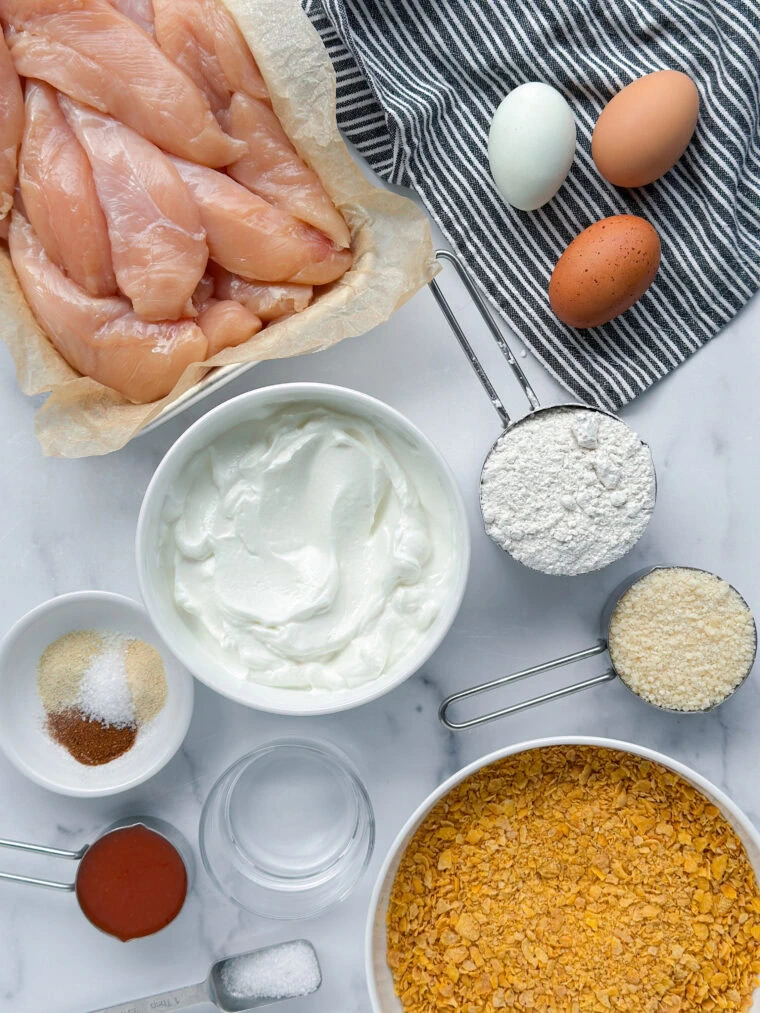
🛒 Ingredients:
- 1.5 lbs chicken tenders (or boneless, skinless chicken breasts sliced into strips)
- 1 cup buttermilk (or milk + a splash of lemon juice as a swap)
- 1 tsp garlic powder
- 1 tsp onion powder
- 1/2 tsp smoked paprika (for that “chef who?” flavor)
- 1 tsp salt + 1/2 tsp black pepper
- 1 cup all-purpose flour
- 2 large eggs
- 1 tbsp water (for the egg wash)
- 1.5 cups panko breadcrumbs (for that crispy-crunchy magic)
- Optional: grated parmesan for a salty, cheesy upgrade
- Cooking spray or olive oil mist
✨ Quick Tip: If you’re gluten-free, swap the flour and breadcrumbs for your favorite alt versions. These babies still crisp up beautifully.
The Flavor Hack That Changes Everything
Here’s the tea: most homemade chicken strips are good… until you realize they taste kinda flat. The secret? Marinate your chicken. Even if it’s just for 30 minutes, this step levels up the flavor and makes the chicken super juicy.
We’re not doing anything wild here—just tossing our chicken strips in a quick buttermilk marinade (with a dash of garlic, paprika, salt, and pepper). It tenderizes the chicken while infusing it with flavor. It’s like a 30-minute spa day before they get their crispy glow-up.
Bonus: this also helps the flour and breadcrumb coating stick better later, so you get that super satisfying crunch in every bite.
✨ If you skip the marinade because you’re “short on time,” you’re actually making dinner harder. This is your shortcut to flavor AND texture.
Step-by-Step—How to Make Crispy Chicken Strips
Let’s get into the juicy, crunchy action. This process is beginner-friendly but still gives pro-level results. Whether you’re team oven or air fryer, we got you. Here’s the breakdown:
1. Marinate That Chicken (Already Done, Right?)
- If you skipped this step, go back—we need that flavor and tenderness, girl.
- Let your chicken soak in buttermilk + seasonings for at least 30 mins, or up to 24 hours if you’re planning ahead.
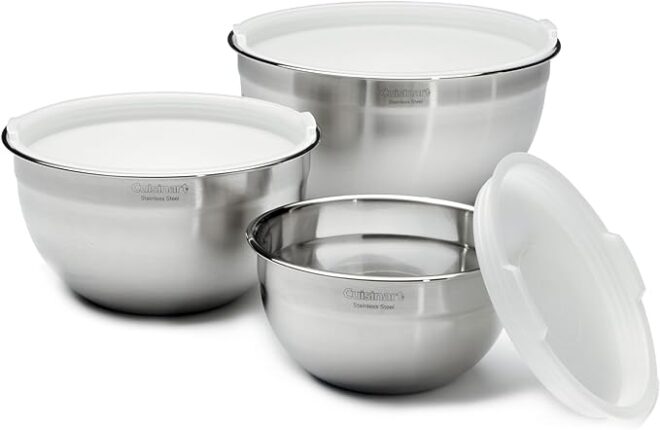
2. Set Up Your Breading Station
- You’ll need three shallow bowls:
- Bowl 1: Flour + a pinch of salt
- Bowl 2: Eggs whisked with water
- Bowl 3: Panko breadcrumbs (add a little parmesan if you’re feeling ✨fancy✨)
- Bowl 1: Flour + a pinch of salt

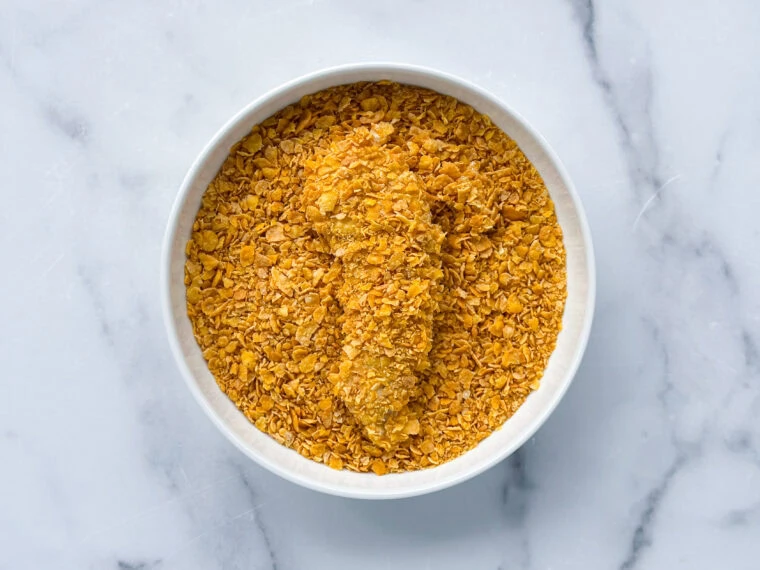
3. Dredge, Dip, Coat
One strip at a time:
- Dredge in flour
- Dip in egg wash
- Coat in panko (press gently to help it stick)
Repeat with all the strips—yes, it’s a little messy, but so worth it.
4. Bake or Air Fry (Your Call)
Oven Method:
- Preheat to 425°F
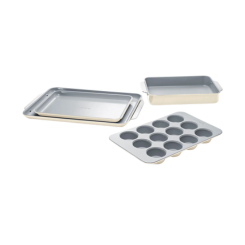
- Line a baking sheet with parchment or foil
- Place chicken on the sheet, spray lightly with cooking spray
- Bake for 20–25 minutes, flipping halfway until golden and crisp
Air Fryer Method:
- Preheat air fryer to 400°F
- Lightly spray the basket and strips
- Cook in a single layer for 10–12 minutes, flipping at 6 mins
5. Let ‘Em Rest (Just for a Sec!)
- Let the strips sit for 2–3 minutes before serving. This helps the crust stay crunchy, not soggy.
- Now’s the perfect time to set the table or whip up a dipping sauce!
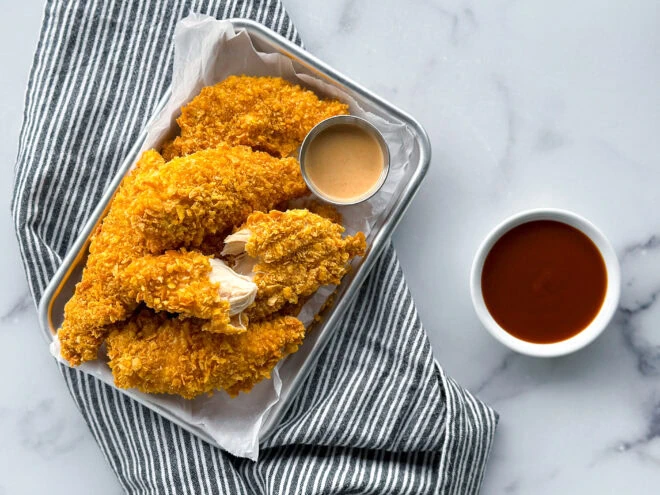
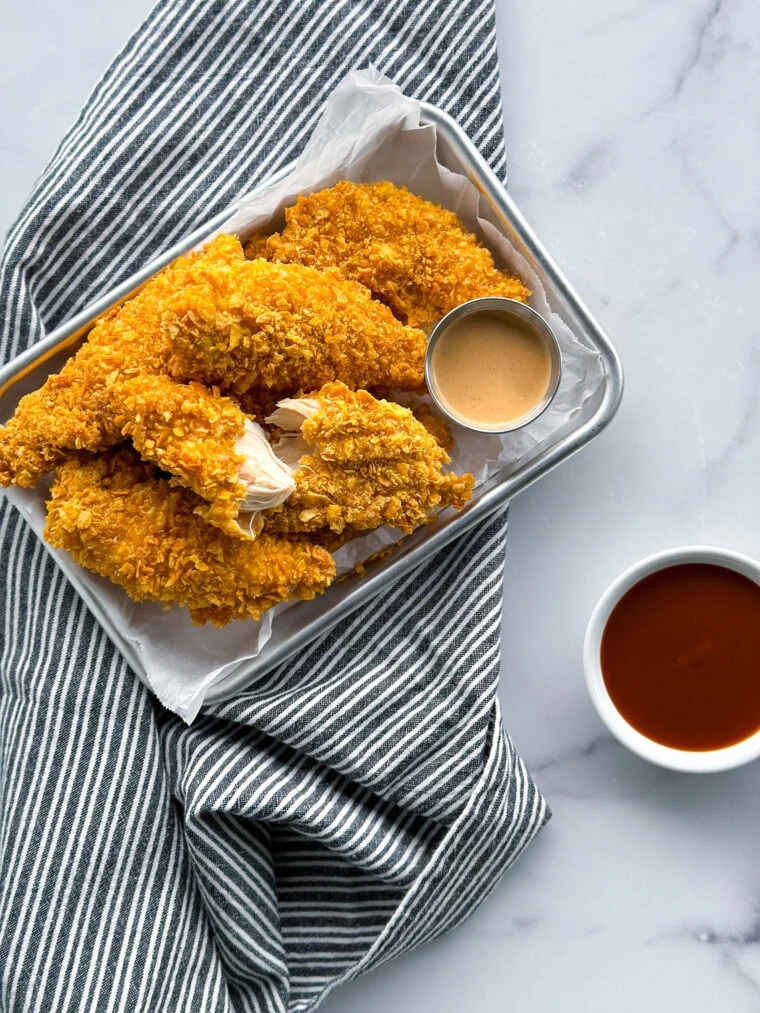
6. Serve + Slay
Plate those beauties and prepare for compliments. These are best served fresh but also hold up great for meal prep or lunchboxes.
Pro Tips for Crispy Chicken Strip Perfection
You already crushed the hard part, but if you want next-level crisp, flavor, and that chef’s kiss moment when you bite in? These quick pro tips will make all the difference:
✨ Think of this like your crispy chicken strip glow-up checklist.
💥 Pro Tips:
- Let the chicken chill (literally): After breading, let the strips rest on a wire rack for 10–15 minutes before baking or air frying. This helps the coating stick and crisp up better.
- Use panko over regular breadcrumbs: It’s lighter, crunchier, and gives you that signature golden texture. Trust.
- Spritz, don’t drench: A light mist of olive oil spray = max crisp without sogginess.
- Flip halfway through: Especially if you’re baking, this keeps the bottom from getting pale or soggy.
- Add a parmesan upgrade: Mixing in a bit of grated parm with your breadcrumbs = instant flavor bomb. Optional but very worth it.
Serving Ideas—Make It a Full Vibe
Okay, your chicken strips are golden, crunchy, and totally slaying. Now let’s turn them into a whole meal moment.
First up: dipping sauces. Because the only thing better than crispy chicken strips? Crispy chicken strips with the perfect dip. Here are a few fan faves:
- Honey mustard (sweet + tangy, the OG)
- Spicy mayo or sriracha ranch (for the cool moms)
- BBQ sauce or buffalo + ranch swirl (Lo’s kids will devour it)
- Garlic aioli or even Chick-fil-A dupe sauce if you’re feelin’ bold
Next: sides that slap.
- Air fryer sweet potato fries
- Roasted broccoli or green beans
- Mac & cheese (because balance 🧀)
- A simple salad for your “I’m trying” energy
✨ Meal prep moment: These strips reheat like a dream in the air fryer (or even a toaster oven). Store in an airtight container and pop ‘em in lunchboxes, wraps, or over salads for a full-week flex.

Final Thoughts
If you’ve made it this far, congrats—you’re officially That Mom™ who serves up crispy, golden chicken strips that taste like fast food but feel like a hug. 💅 You didn’t need a deep fryer. You didn’t need a drive-thru. You just needed this recipe and a little belief in your dinnertime game.
Now go enjoy that plate of perfection. Bonus points if you dip them in something spicy and pour yourself a sparkling water like it’s wine. 🍷✨
And hey—if you try this recipe, I need to see it!
📸 Snap a pic, tag @natashapehrson, and share the crispy magic.
📌 Save this post for next week’s meal plan.
🗣 Drop your fave dipping sauce in the comments.
Because dinner doesn’t have to be fancy to feel like a win.

The Plan Twice Method gives you a simple, flexible plan that works for real life—plus a smart little tool (hi, Penny 💅🤖) that builds your week for you.
Less stress. More done-for-you dinners. You in?
Equipment & Tools


Gluten Free Air Fryer Chicken Strips
Print Recipe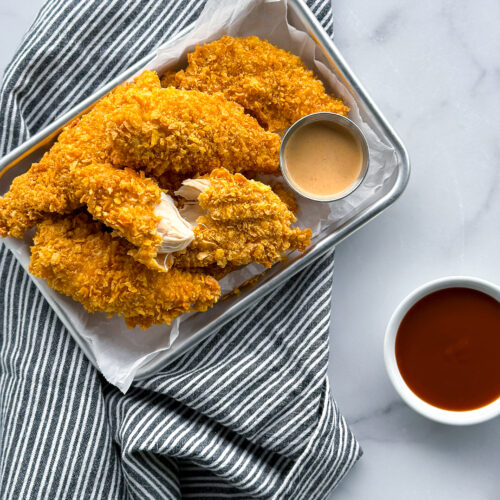
Ingredients
For The Marinade
- 2 lbs Boneless, Skinless Chicken Tenders
- 1 1/2 cup Plain Yogurt
- 1/4 cup Hot Sauce
- 1/2 cup Water
- 1/2 tsp Kosher Salt
For The Flour Mixture
- 1 cup Bob's Red Mill GF Flour
- 1/2 cup Grated Parmesan
- 1 tsp Kosher Salt
- 1 tsp Garlic Powder
- 1 tsp Onion Powder
- 1/2 tsp Cayenne Pepper
For The Egg Wash
- 3 Large Eggs
- 2 tbsp Water
For The Crunchy Coating
- 4 cup Cornflakes crushed
- Avocado or Olive Oil Spray
- Salt & Pepper to taste
Instructions
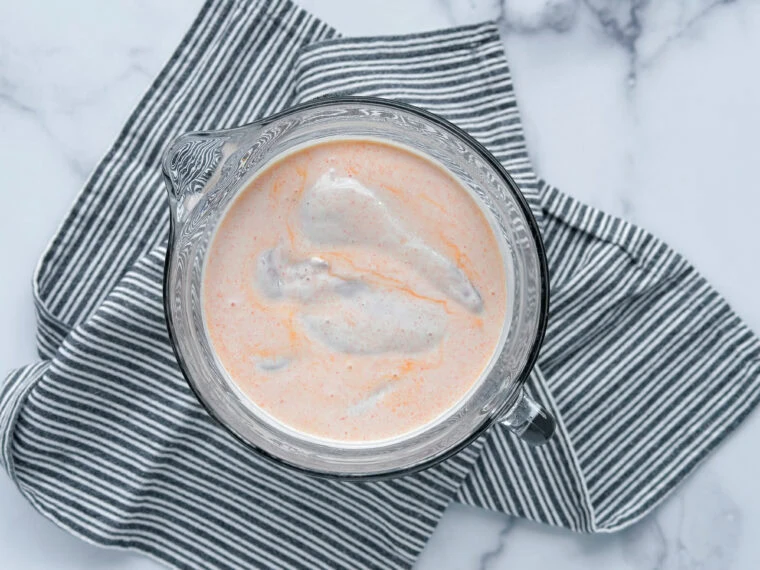
- 1. Marinate the Chicken: In a large bowl, whisk together yogurt, hot sauce, water, and salt. Add chicken tenders, toss to coat, and marinate for at least 15–20 minutes (up to 6 hours refrigerated).
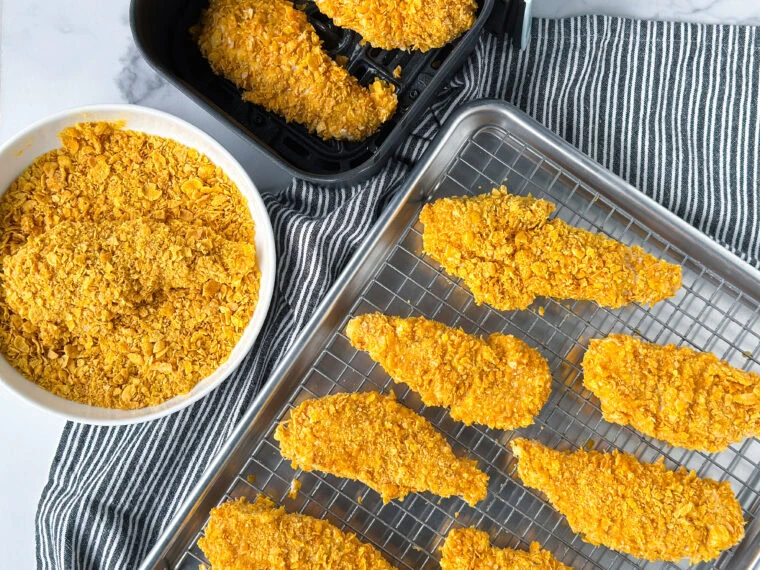
- 2. Set up Dredging Stations: Place the flour mixture in one shallow bowl, whisk the eggs and water in a second, and crushed cornflakes in a third.
- 3. Dredge the Tenders: Remove chicken from marinade, letting excess drip off. Dredge in flour, dip in egg wash, then press firmly into crushed cornflakes until well coated.
- 4. Cook the Chicken: Air Fryer Method: Preheat to 380°F. Spray both sides of coated tenders with oil & sprinkle with kosher salt and freshly ground pepper. Air fry for 10–12 minutes, flipping and spraying halfway through. Oven Method: Preheat oven to 400°F. Arrange tenders on a lined baking sheet and spray lightly with oil. Bake for 20–22 minutes, flipping and spraying halfway through. Chicken tenders are done when golden, crispy, and internal temperature reaches 165°F.
Notes
Ingredient Notes:
- Chicken Tenders: Pre-cut tenders are easiest; you can also slice boneless breasts into strips.
- Yogurt: Yogurt marinade tenderizes while keeping the chicken juicy—use a thick, plain yogurt like greek yogurt for best results. Kite Hill Greek Style Plant Based Yogurt
- Cornflakes: Crush finely but leave a little texture for ultimate crunch. If you need this recipe to be gluten-free, make sure you choose certified gluten-free corn flakes.
- Flour: Bob’s Red Mill 1-for-1 keeps the coating gluten-free without sacrificing structure. Any 1-for-1 gluten free flour blend will work as long as it’s rice flour based.
- Cheese: Parmesan adds umami to the crust—omit for dairy-free if needed and substitute with additional gluten-free flour.
Customization Ideas:
- Scaling: Double batch and freeze breaded, uncooked tenders for quick future meals
- Meal Prep: Marinate chicken overnight and dredge right before cooking. Prep and freeze dredged, uncooked tenders in an airtight container for up to 1 month.
- Substitutes: For a spicier version, increase cayenne in the flour mix or add extra hot sauce to the egg wash.
Storage Instructions:
- Refrigerator: Store cooked tenders: up to 3 days in an airtight container. Reheat cooked tenders in the air fryer or oven for the best texture. Chick-Fil-A sauce: up to 7 days refrigerated


Comments