Better-Than-Store-Bought Milky Way
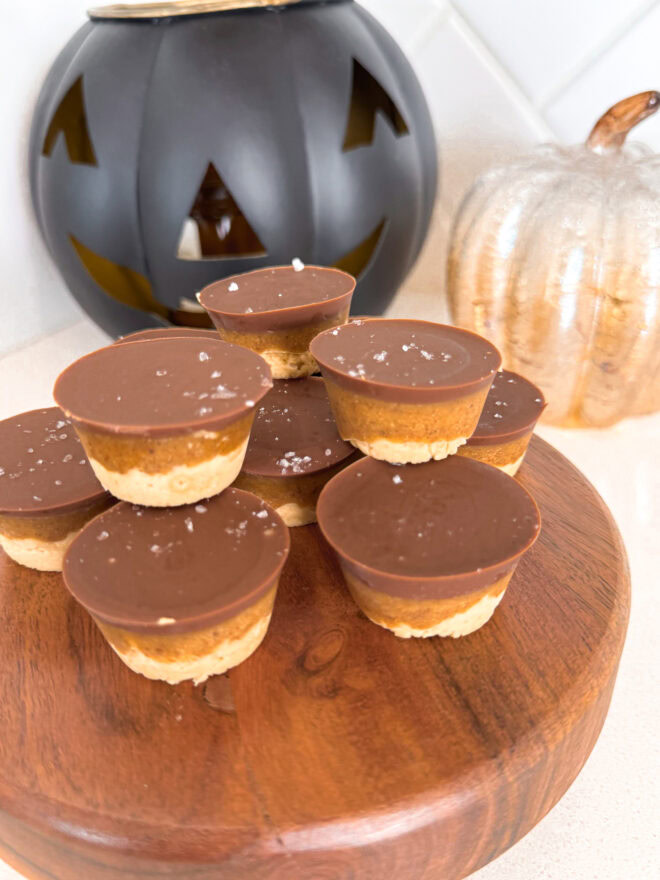
When it comes to classic candy bars, Milky Way holds a special place in my heart! But you know me—I love taking iconic treats and giving them a homemade twist. These homemade Milky Way bars are just as indulgent as the original, with layers of creamy nougat, rich caramel, and smooth chocolate coating.
The best part? They’re made with better-for-you ingredients, so you can enjoy that same nostalgic flavor while skipping the store-bought version’s extra sugars and additives. Oh, and don’t forget to freeze between layers—it makes assembly a breeze!

Did You Know? The History of Milky Way Bars
The Milky Way bar was first introduced in 1923 by the Mars Company, and it quickly became a favorite across the U.S. What made it unique at the time was its nougat and caramel filling coated in chocolate, offering a light and fluffy texture that was unlike other candy bars.
Inspired by the popular chocolate-malt milkshakes of the 1920s, the Milky Way bar was marketed as a “chocolate malted milk in a candy bar,” giving people a portable version of their favorite treat.
By the 1930s, Milky Way had become one of the best-selling candy bars in the U.S., paving the way for future Mars creations like Snickers and Twix. While today’s Milky Way may differ slightly from the original, it remains a beloved classic around the world.
Why You’ll Love This Recipe:
- Made with real ingredients like almond butter and coconut oil
- Free of preservatives and refined sugars
- A perfect freezer-friendly treat for when you’re craving something sweet
- A fun recipe to make with the kids!
Next time you’re craving a chocolatey treat, skip the store and give these a try. They’re proof that candy bars don’t have to be loaded with processed ingredients to taste amazing!
Ingredients
Nougat Base:
- ½ cup oat flour
- ¼ cup of your favorite protein powder (see notes for substitutions)
- ¼ cup ground almonds or almond flour
- ¼ cup maple syrup
- ¼ cup applesauce
- Pinch of sea salt
Caramel Filling:
- ½ cup almond butter
- ¼ cup maple syrup
- 1 tsp vanilla extract
- 3 Tbsp melted coconut oil
- A good pinch of sea salt
Chocolate Coating:
- 1 cup chocolate chips
- 2 tsp olive oil
Instructions
Step 1: Prepare the Nougat Base
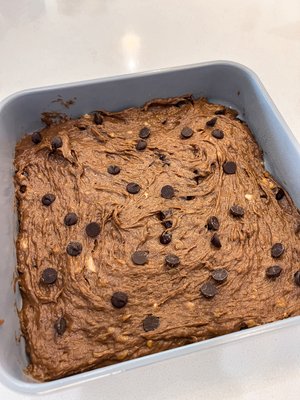
In a bowl, combine the oat flour, protein powder, ground almonds, maple syrup, applesauce, and a pinch of sea salt. Mix everything until a dough forms. Press this mixture evenly into a lined loaf pan to create the nougat layer. Freeze the pan for about 15 minutes to allow the nougat to firm up while you work on the caramel layer.

Step 2: Make the Caramel Filling
For the caramel, mix together the almond butter, maple syrup, vanilla extract, melted coconut oil, and sea salt. You should end up with a smooth, creamy consistency. Take the nougat layer out of the freezer and spread the caramel evenly over it. Pop the pan back in the freezer for another 20 minutes to set the caramel.

Step 3: Coat in Chocolate
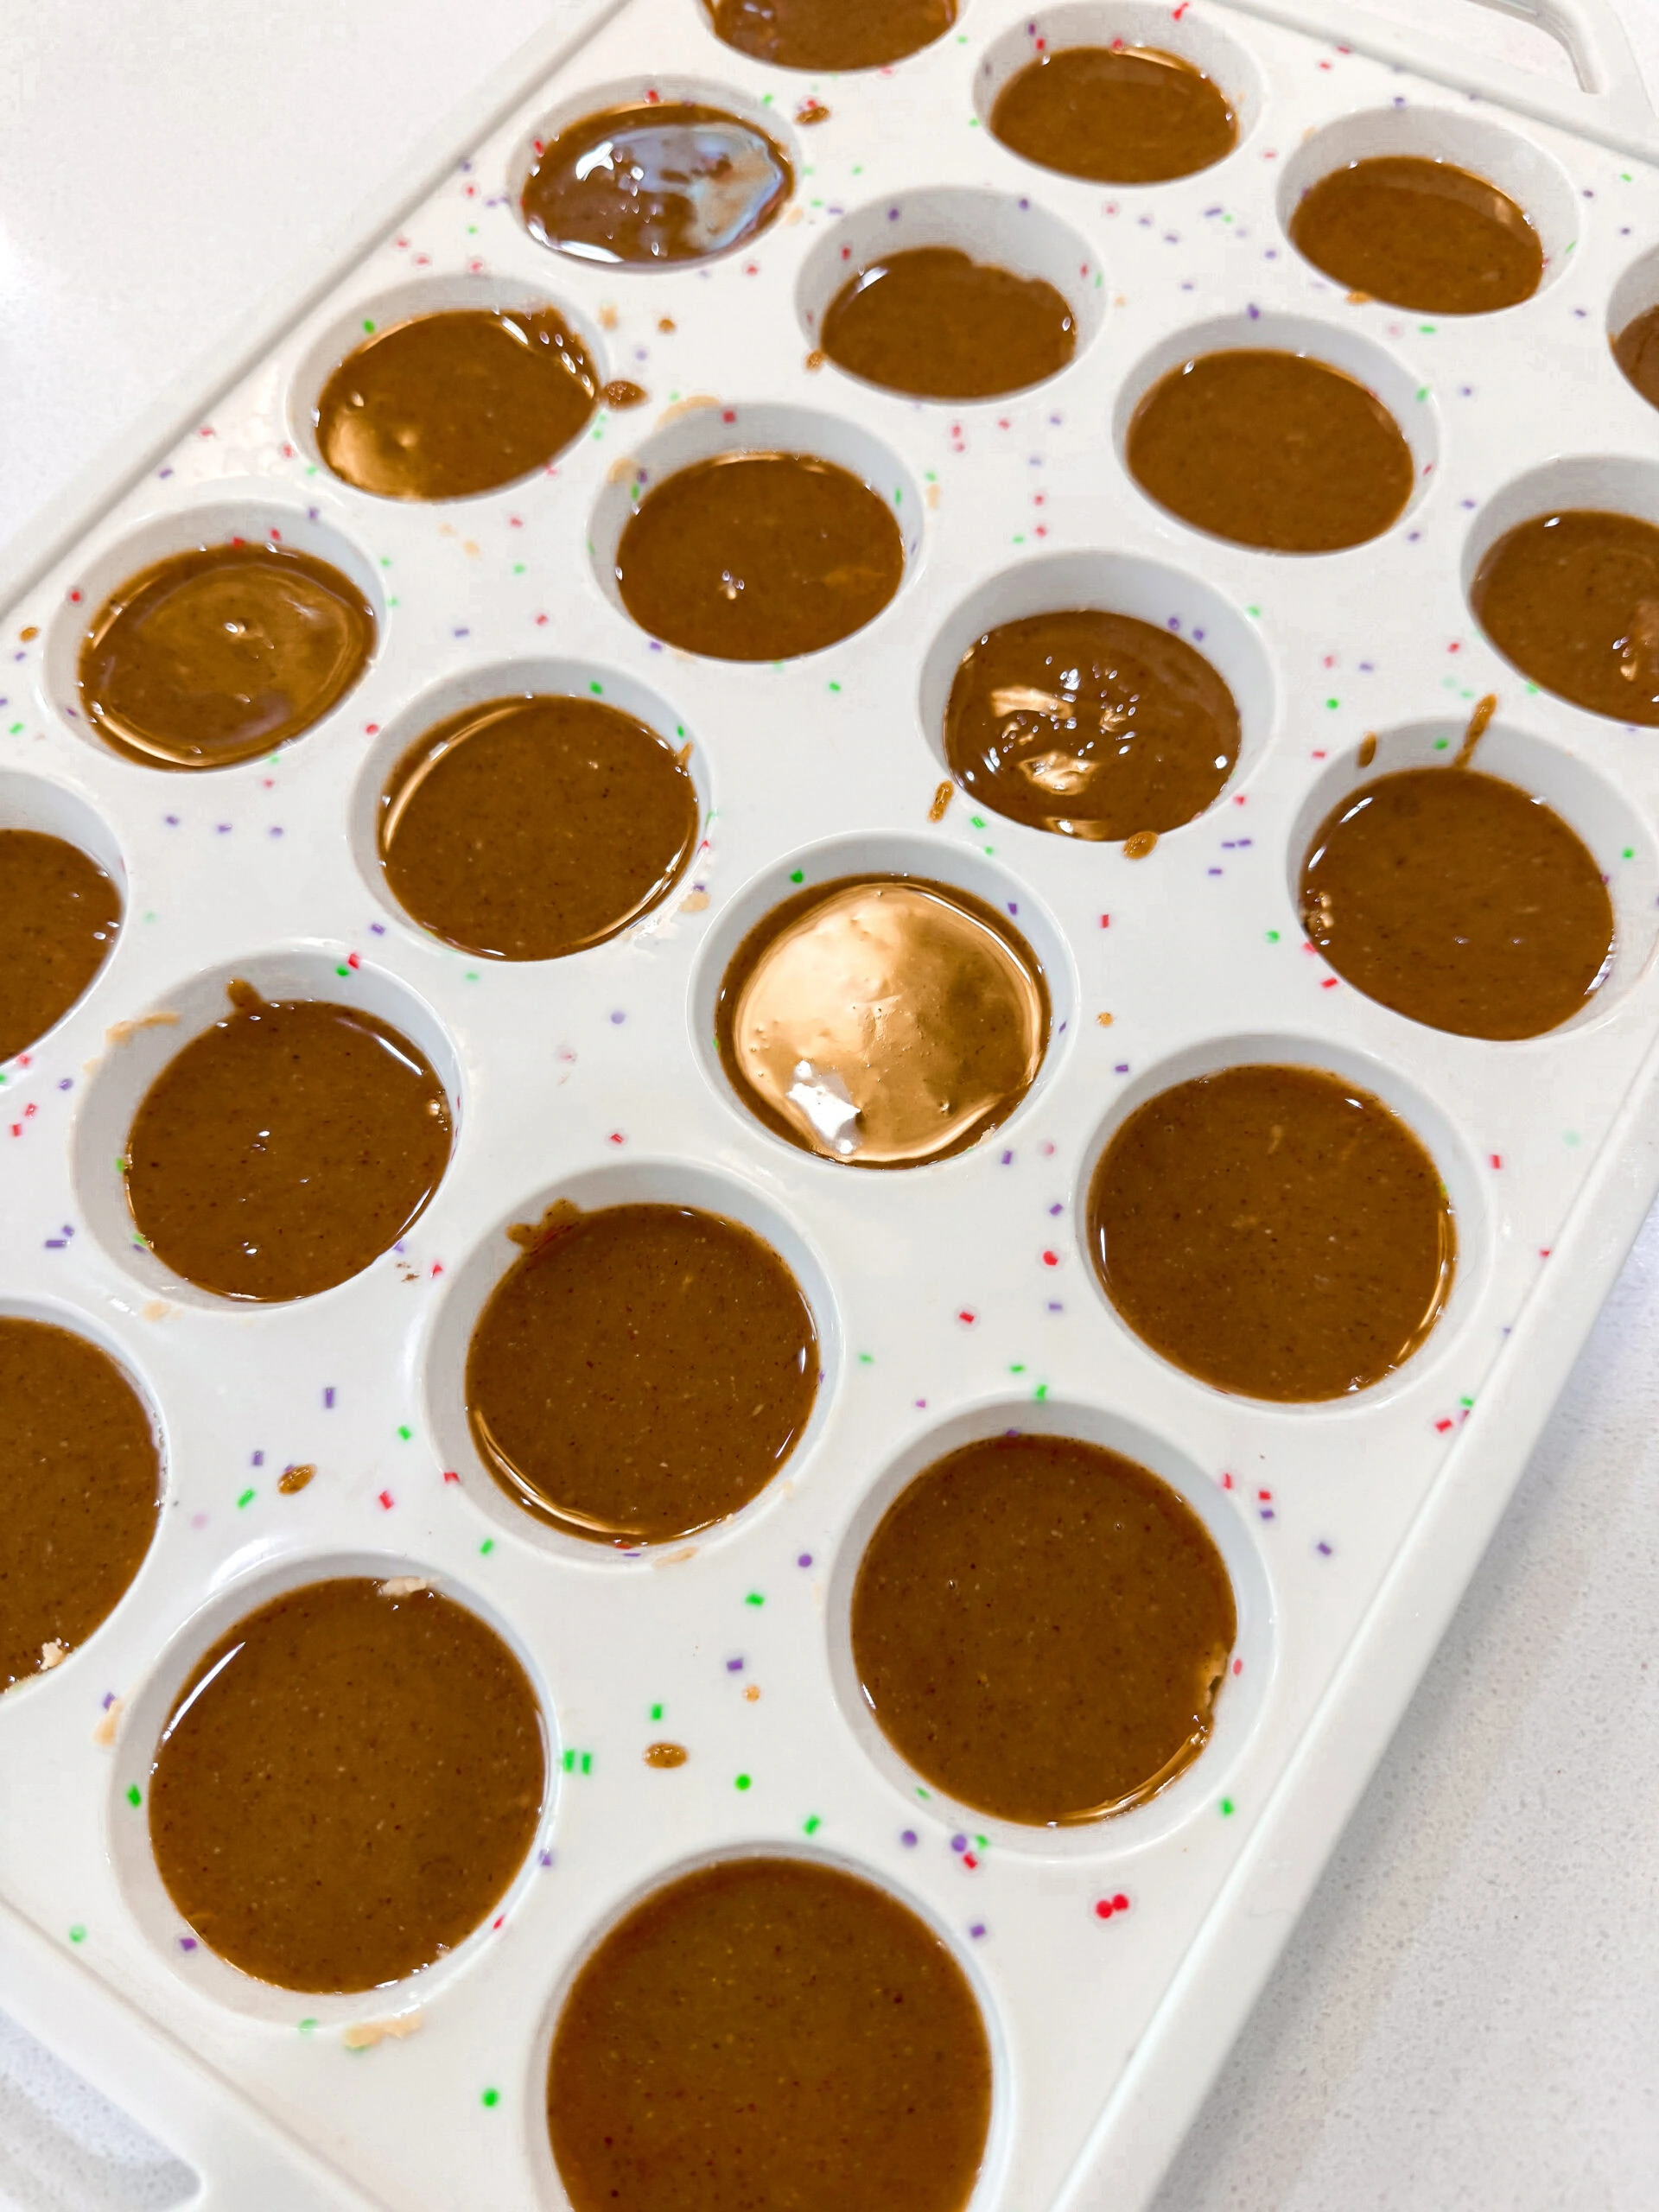
Melt the chocolate chips with the olive oil in the microwave or on the stove using a double boiler. Once melted and smooth, pour it over the caramel layer, making sure it coats the entire surface. Return the pan to the freezer for about 30 minutes until the chocolate has completely hardened.

Step 4: Slice and Serve
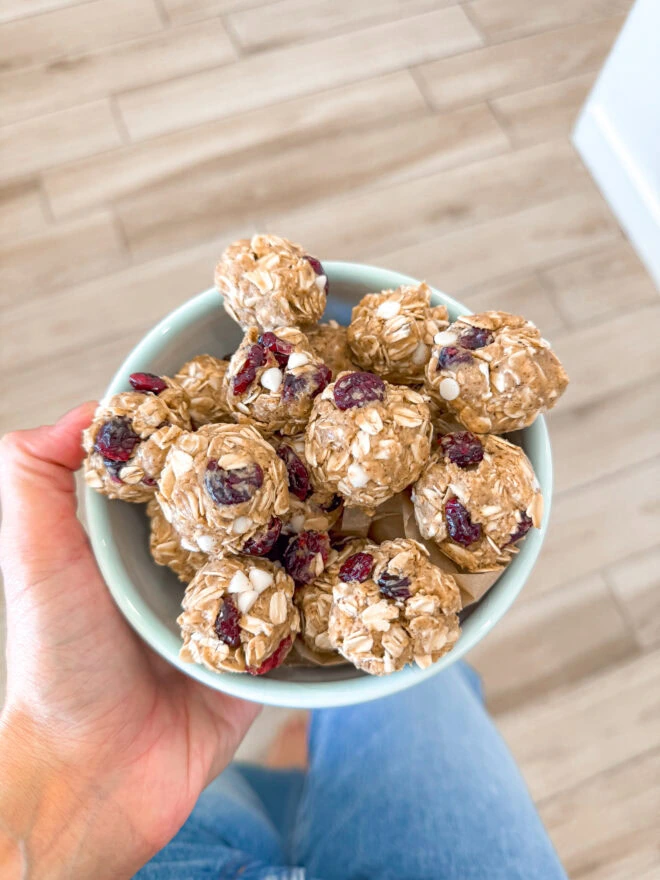
Once the bars are fully set, remove them from the pan and cut them into bite-sized pieces (or keep them as full bars—your choice!). If you love that chewy, cool texture, keep the bars stored in the freezer and enjoy them chilled. Otherwise, let them sit out for a few minutes to soften slightly before serving.

Why Freeze Between Layers?
Freezing the bars between each step helps the layers hold together and makes slicing much easier. It ensures that your nougat and caramel don’t mix into one big mess, and the chocolate stays perfectly smooth and glossy. Trust me, this trick will give your homemade Milky Ways that professional, clean-cut look—and you’ll feel like a candy-making pro!
Tips for Success:
Storage: Keep these in the freezer for a quick grab-and-go treat. They’ll last up to two weeks in an airtight container.
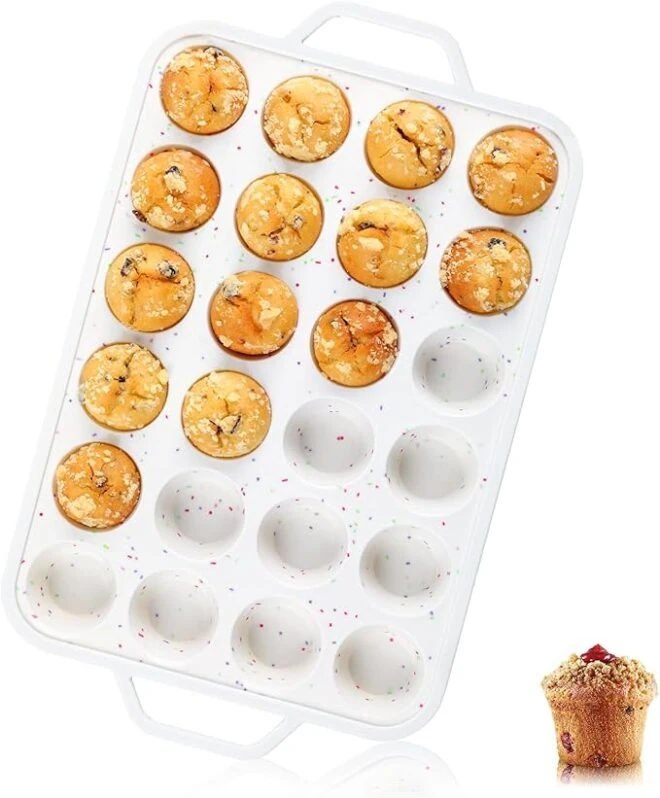
Mold Matters: I love using a silicone mini muffin tin for perfectly portioned bites. You could also use a loaf pan lined with parchment paper for easy removal if you prefer bars.
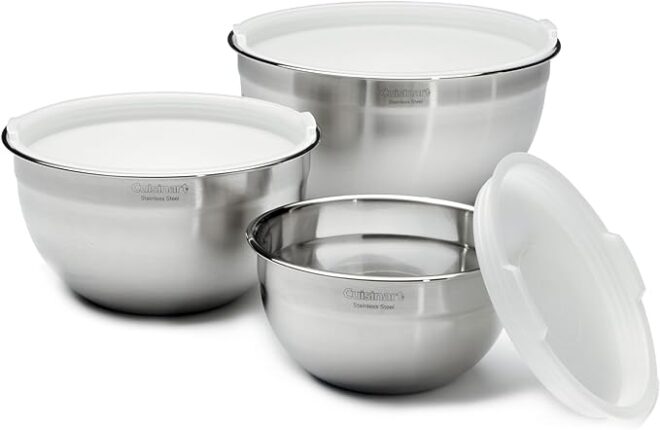
Mini Muffin Tin
Non-stick & Easy to Release: flexible silicone cupcake tray has a non-stick surface
Easy to Clean & Dishwasher Safe: The non-stick surface of our muffin tins makes cleaning a breeze. Rinse with water or place in the dishwasher
Multifunction: These cupcake pans are perfect for muffins, cupcakes, egg muffins, pizza muffins, cheesecake, baked oatmeal, etc..
Substitution Tips:
Chocolate chips: If you’re dairy-free, opt for dark chocolate or dairy-free chocolate chips.
Protein powder: If you don’t have protein powder, you can use additional oat flour or almond flour. The texture may change slightly, but the flavor will still be on point!
Almond butter: Feel free to swap almond butter for peanut butter, sunflower seed butter, or even cashew butter depending on your taste preference.

Ingredients
Nougat Base:
- ½ cup oat flour
- ¼ cup of your favorite protein powder see notes for substitutions
- ¼ cup ground almonds or almond flour
- ¼ cup maple syrup
- ¼ cup applesauce
- Pinch of sea salt
Caramel Filling:
- ½ cup almond butter
- ¼ cup maple syrup
- 1 tsp vanilla extract
- 3 Tbsp melted coconut oil
- A good pinch of sea salt
Chocolate Coating:
- 1 cup chocolate chips
- 2 tsp olive oil
Instructions
- 1. Prepare the Nougat Base: Mix oat flour, protein powder, ground almonds, maple syrup, applesauce, and sea salt until a dough forms. Press into a lined loaf pan and freeze for 15 minutes.
- 2. Make the Caramel Filling: Combine almond butter, maple syrup, vanilla extract, melted coconut oil, and sea salt until smooth. Spread over the nougat layer and freeze for 20 minutes.
- 3. Coat in Chocolate: Melt chocolate chips with olive oil, then pour over the caramel layer. Freeze for 30 minutes until fully set.
- 4. Slice and Serve: Cut into pieces and store in the freezer for a chewy texture or let them soften slightly before serving.
Kitchen Essentials


Comments